Enable SSH on Ubuntu 18.04 Bionic Beaver Linux
Contents
- Objective
- Operating System and Software Versions
- Requirements
- Difficulty
- Conventions
- Instructions
- Enable SSH on Ubuntu
- Enable/Disable SSH on Ubuntu
Objective
The below guide will provide you with information on how to enable ssh on Ubuntu 18.04 Linux. SSH stands for secure shell which allows encrypted remote login connections between client and server over insecure network.
Operating System and Software Versions
- Operating System: - Ubuntu 18.04 Bionic Beaver
- Software: - OpenSSH 7.5 or higher
Requirements
Privileged access to your Ubuntu System as root or via sudo command is required.
Difficulty
EASY
Conventions
- # - requires given linux commands to be executed with root privileges either directly as a root user or by use of sudo command
- $ - requires given linux commands to be executed as a regular non-privileged user
Instructions
Enable SSH on Ubuntu
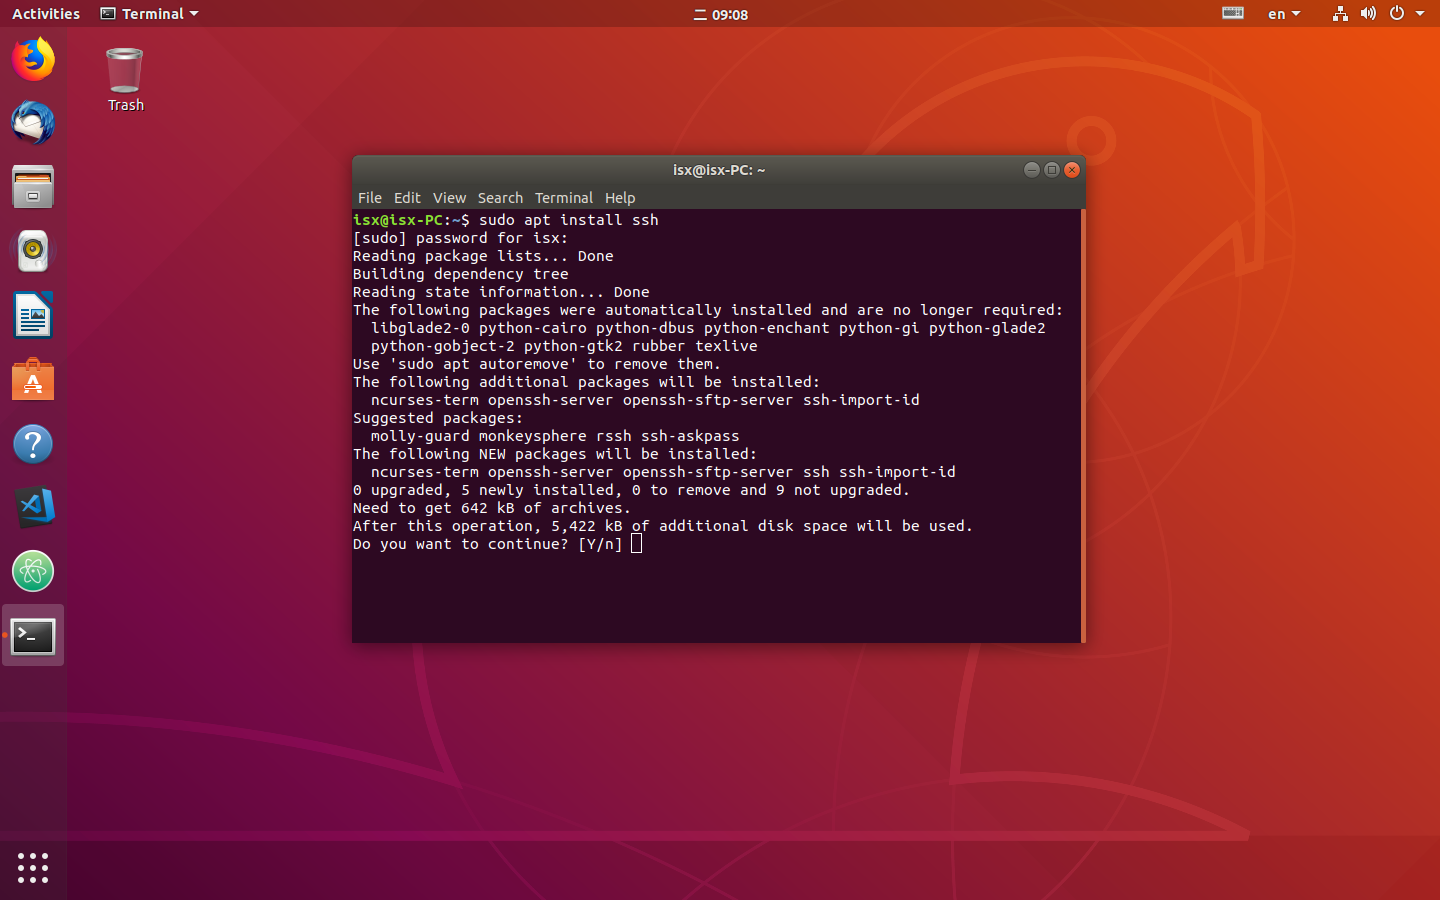
In order to enable ssh on Ubuntu Linux, we first need to perform an SSH package installation. Open up terminal and enter command:
$ sudo apt install ssh
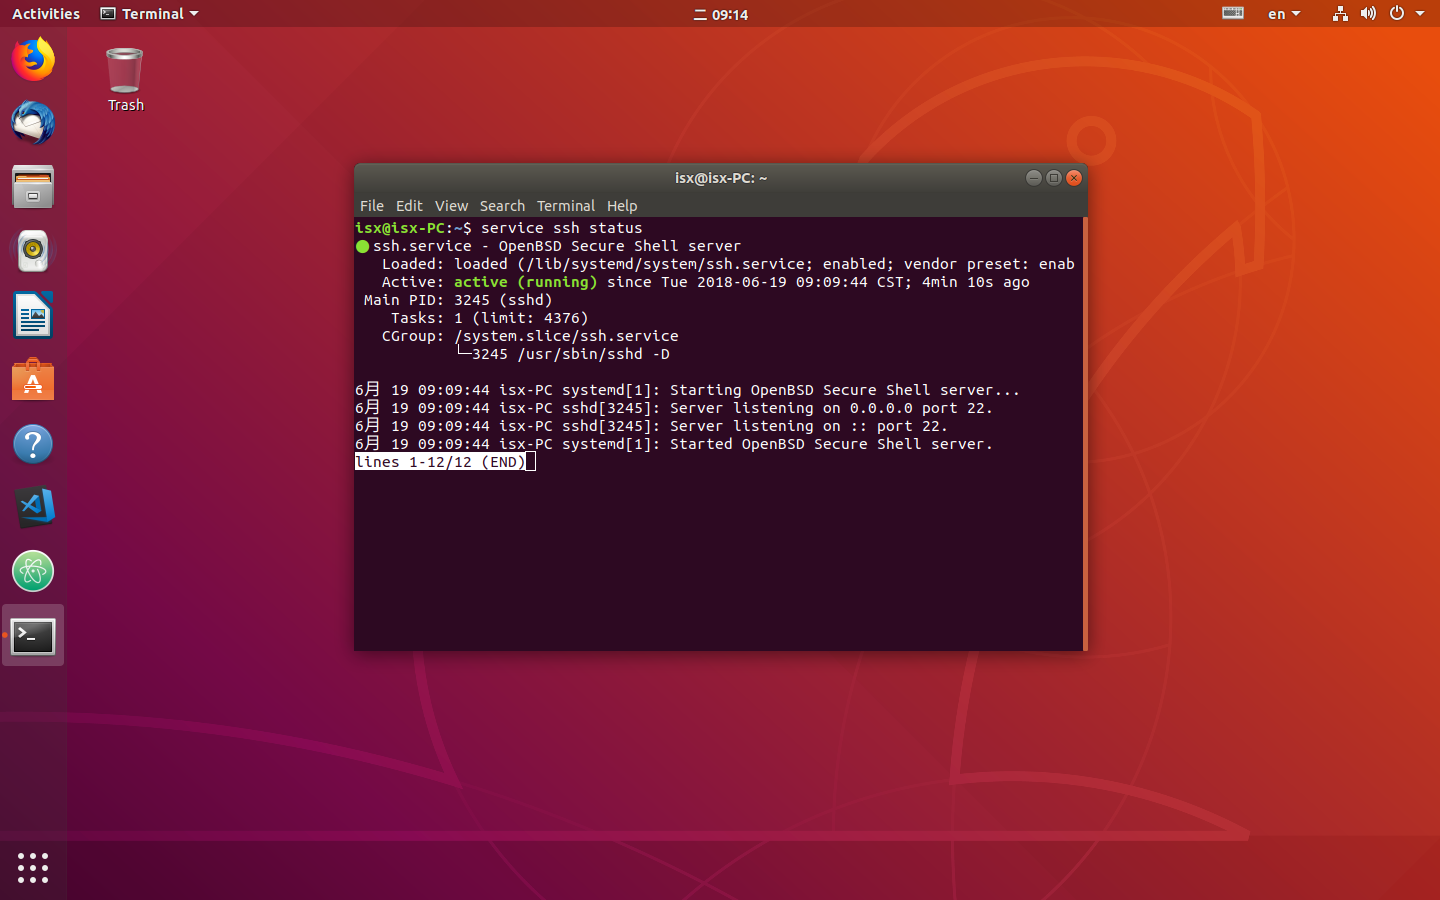
Confirm that SSH server is up and running by executing the bellow command. Look for keyword Active: active (running). Press q if you need to get your command line prompt back:
$ service ssh status
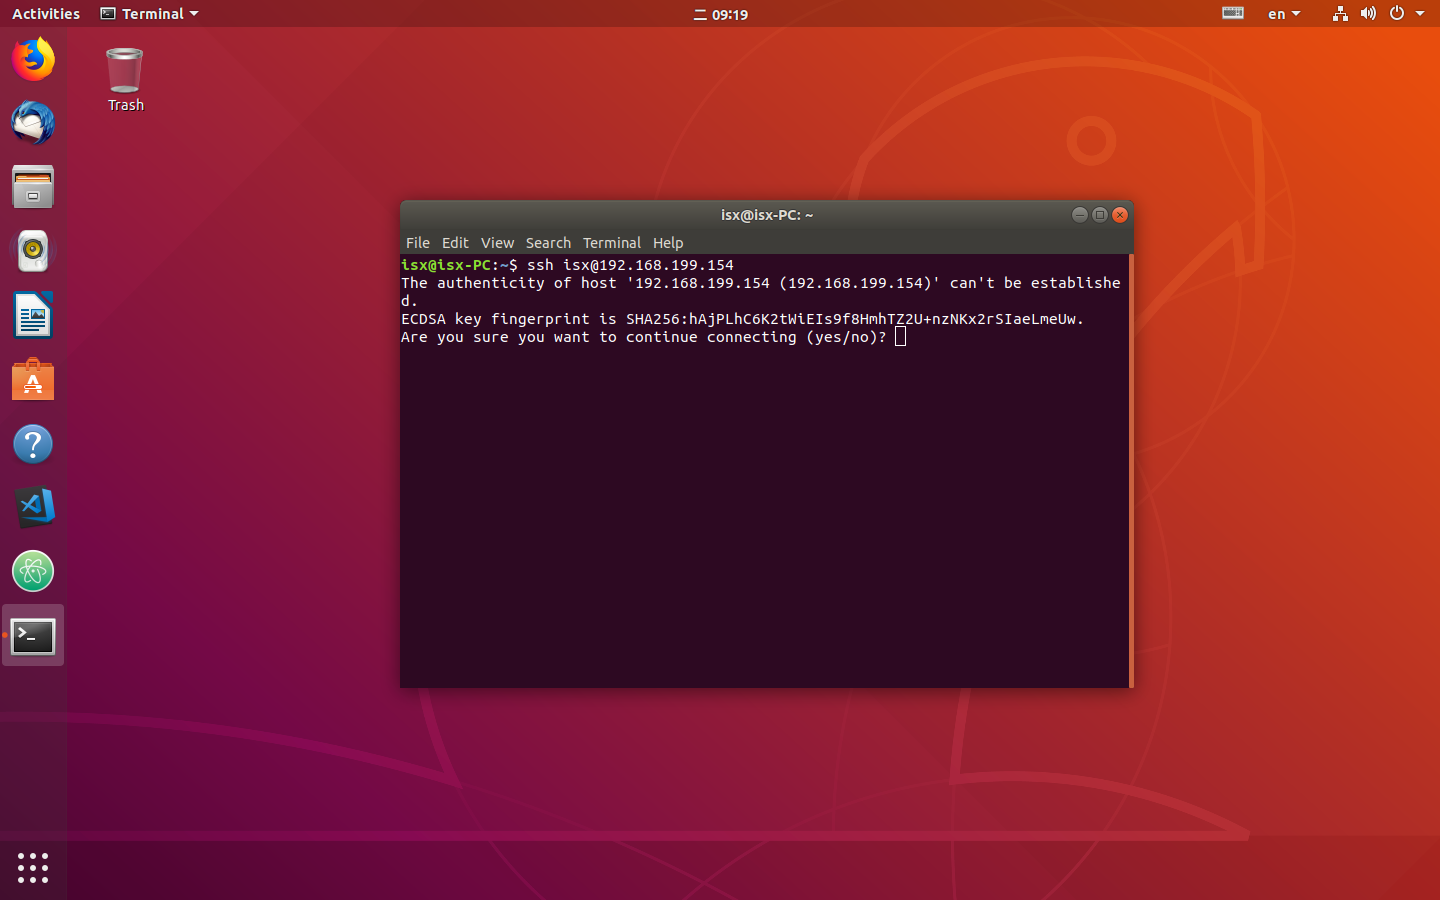
At this stage you should be able to login from this host to any other SSH enabled Ubuntu server. For example, to login to server with host name isx as user 192.168.199.154 enter:
$ ssh isx@192.168.199.154
Enable/Disable SSH on Ubuntu
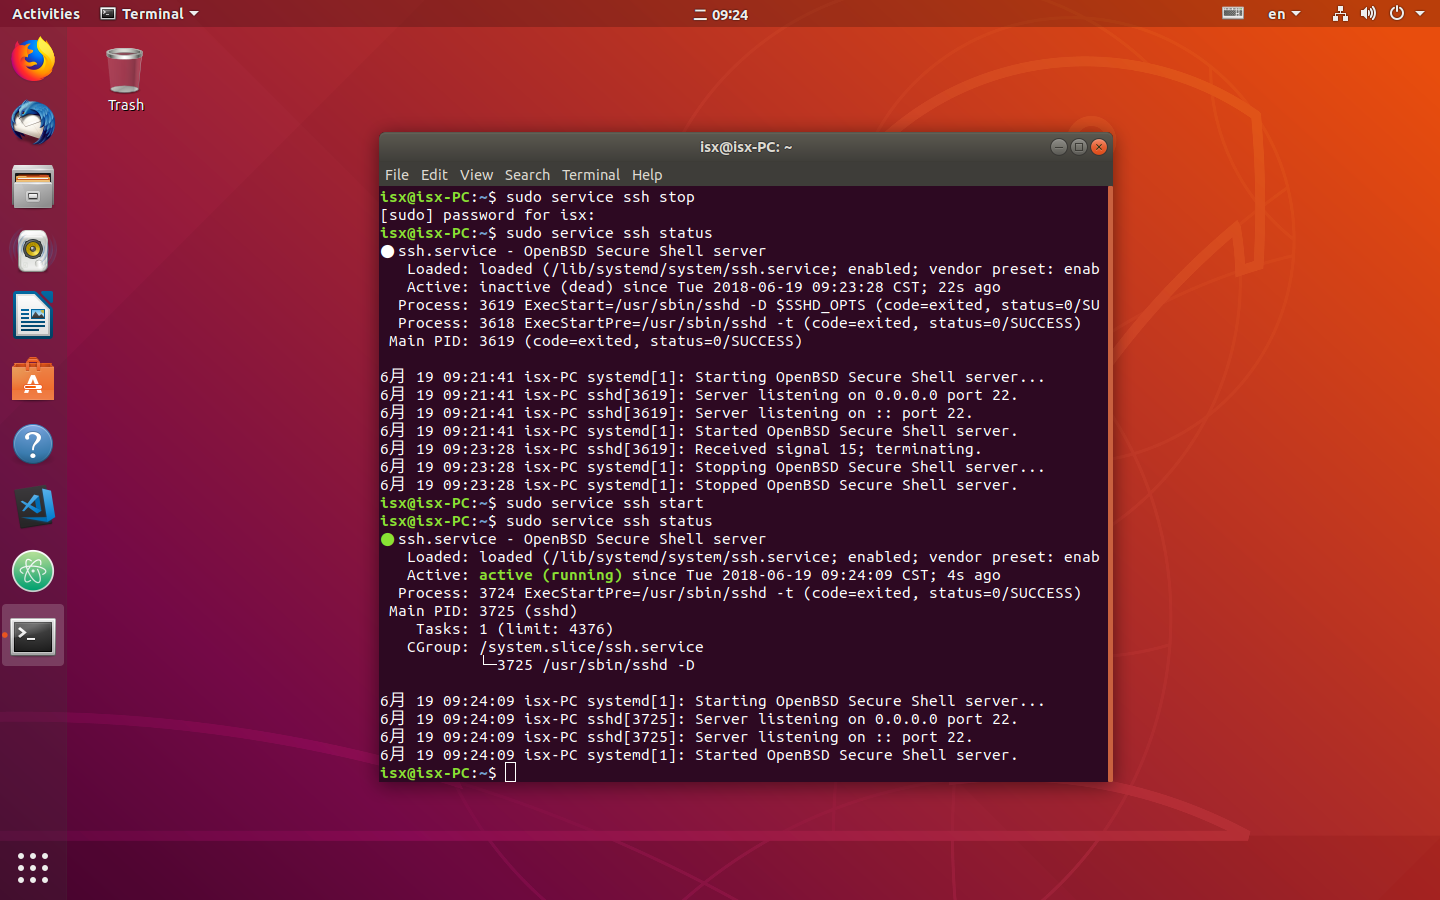
In an event that you need to temporarily disable SSH on your Ubuntu host execute:
$ sudo service ssh stop
To start again run:
$ sudo service ssh start
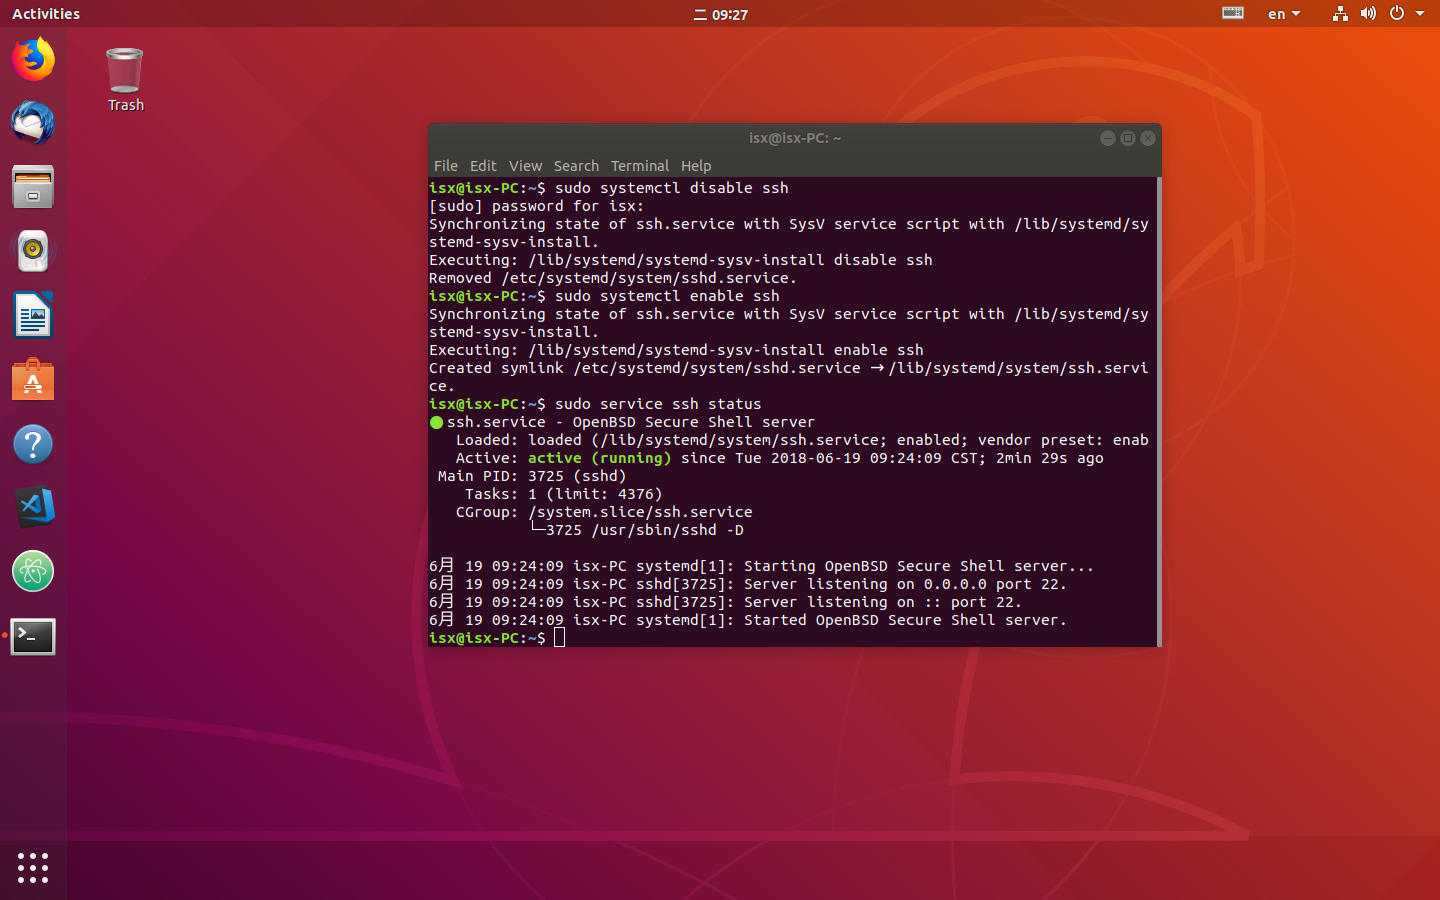
In order to completely disable SSH after reboots execute:
$ sudo systemctl disable ssh
To enable SSH again on your Ubuntu host use command:
$ sudo systemctl enable ssh
